
Injera is the staple flat bread of Ethiopia eaten at most meals and used both as a plate to serve stews on and a utensil that you pinch of to scoop up up the stews. Without good injera, eating Ethiopian food just isn't the same. I've tried many times in the past and have had little success. Mostly, because I was not patient enough to make the starter. I once had a friend give me some starter and that was my best attempt.
When we lived in Florida, we had an Ethiopian restaurant and I had some contacts in the community that I could purchase injera from. That was the best. I always wanted to be able to make injera because it is so important to the Ethiopian culture and I wanted our kids to be able to eat Ethiopian food often.
Since moving, we've picked up injera any time we are near an Ethiopian market such as when we visit Atlanta, DC or Charlotte. I've even brought it home several times from Ethiopia in my carry on. Now, I am able to make injera at home, and while it is not quite as good, it is close enough.
First of all, avoid any recipe that promises "quick" injera. It just doesn't exist. The key to this whole thing is having a well established starter and that takes patience and about 2 weeks.
To get started, you'll need to order Teff Flour. I ordered ivory Teff, but I'm assuming brown would also work. Here's where I ordered from: /https://teffco.com/products/
Then you'll need a jar or bowl with a lid. I had these jars already and they work well. I started my starter with 1 cup of Teff flour and 1 cup of warm water plus 1 tsp active dry yeast or 1/2 teaspoon instant yeast (I had active dry yeast). Whisk all of that together and put the lid on it.
Then, for the first three days, I "fed" my starter three times a day 1/4 cup of teff plus 1/4 cup warm water and whisked it and covered each time. After those first three days, I simply fed it 1/4 cup or teff plus 1/4 warm water once each day, stirring every time and replacing the lid. There is probably a more precise way to do this, but this is what worked for me.

Now, look at how the mixture looks bubbly at the bottom and the liquid has settled on the top. I've read differing opinions on this, some say dump it off and some say stir it in. I also read that it could mean that you need to feed your starter more. It will start to have a fermented smell at this point. I just gave the stater a couple of feedings on the days it looked like this and mixed the liquid in. This whole time, you will be leaving the starter on your kitchen counter.
When you remove the lid, you will be able to see bubbles coming up to the surface and this is good because it means your starter is alive and that is what helps produce the sour taste of injera as well as the bubbles or ayn "eyes" that are characteristic of injera.
If you see mold at any time you are suppose to scoop it off and discard it. I never had mold but I did scoop the top off a few times when it started to look like a skin was forming.
So after about 2 weeks of doing this you will have about 5 cups of starter.
At this point you are ready to make injera.
So on the evening BEFORE you want to eat injera follow these steps:
I mixed 4 cups of the starter with 4 cups of teff flour. Most recipes only called for 2 cups of starter, but then I found that the taste was like bland white flour, so I increased it to 4 cups of starter.
The mixture will start off looking crumbly but will soon form into a dough ball that you can knead. If you have an electric mixer with a bread hook you could use that, but I just used my hands.

Knead by hand for about 10 minutes. It gets kind of tough to knead, but keep doing it.
Here you can see my dough ball was ready to be kneaded, but Meron was still working on getting hers incorporated. You may need to add a little bit of water if it is too dry to get it to the right consistency. Just add a little at a time.

Once you've kneaded the dough for 10 minutes, return to the bowl and add warm water 1 cup at a time to make a thin batter. You will have to squish the batter between your fingers and hands to get all of the lumps out.

Then cover it and leave overnight for 8-10 hours.

In the morning it will look like this.

Place the batter into a blender in batches to get all of the grit out of the batter so that it will be smooth.
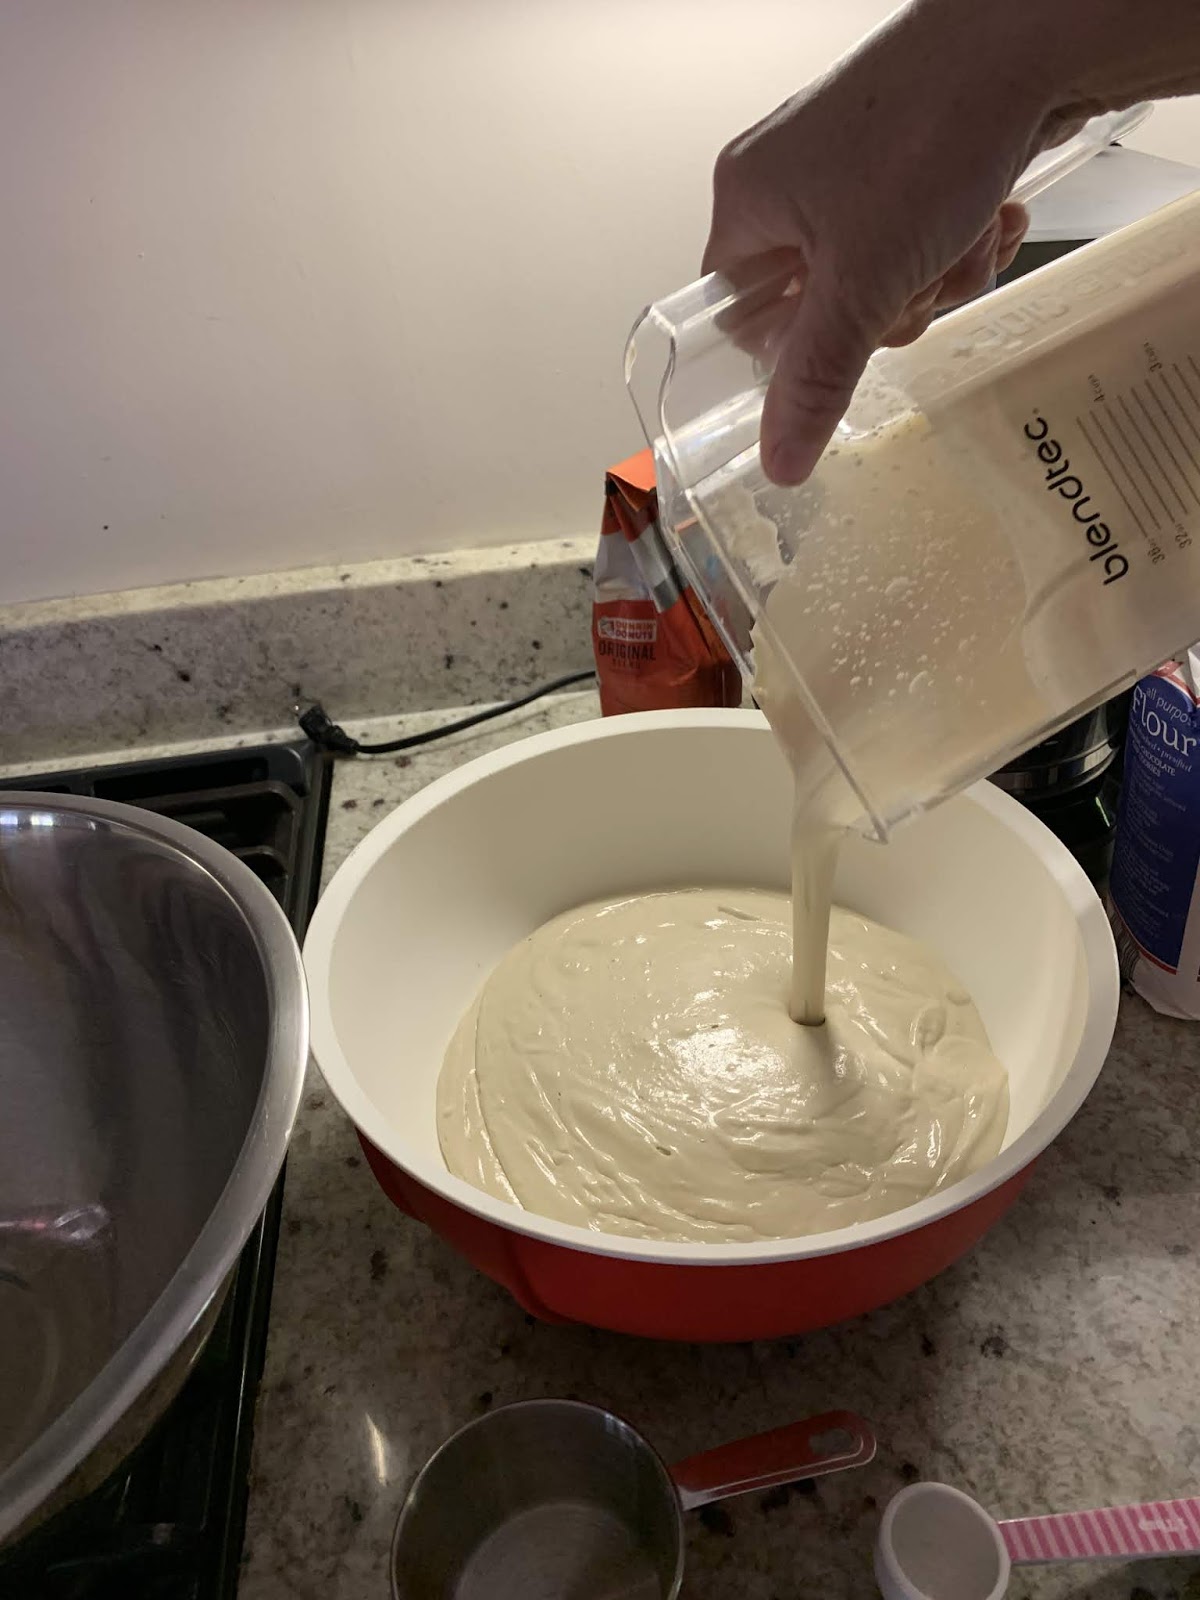
You can see it is thicker than it was yesterday and that's ok because you will be adding water again.

Once you've blended all of your teff batter you will add 2 cups of all purpose flour plus 1 tablespoon of corn starch and 1 tablespoon of baking powder (essentially making self rising flour) to the teff batter. Then you will add warm water 1 cup at a time. I ended up adding about 5-6 cups of water at this point.

Then put the batter back into the blender in batches to combine it and make sure there are no lumps.
You know you have the correct consistency when it runs off or your hand like this:

Now cover the batter one more time and allow it to sit for 6-8 hours or so or overnight if you want to cook it the next morning. I just let mine sit until the evening as we were going to eat it the next day. Then place it in the fridge for 1-2 hours before you use it.
Here are some of my failed batches.
This first one looked good, but tasted terrible. I made it after only 3 days of my starter fermenting and it had no flavor at all.

The picture below was about a week into the starter and while it tasted more sour like injera, there was still a floury taste. My problem here was that I overcooked it at too low of a heat and it absorbed too much moisture and was gummy. It was also too thick and started to crack.


This batch I burned trying to make it not so gummy before I realized it was the moisture, not the length of time that I cooked it.

All of those batches went in the trash and I almost gave up when finally decided to combine the 2 techniques that had produced good looking and good tasting injera.
Here is a site that will help you trouble shoot your injera problems: https://www.wikihow.com/Remedy-Common-Problems-With-Making-Injera
Ok, now back to making injera. I have had this heritage grill for years. I think you can get them on Amazon and at Target online (I had to buy my lid separate when I got mine). You can also use a large frying pan and a lid
Also, you will need a pitcher to pour the injera and something to scoop it off of the pan (I use circular place mats, not pictured here).
BEFORE you start pouring the batter, save at least one cup in your starter jar or you will have to restart the whole 2 week process again.

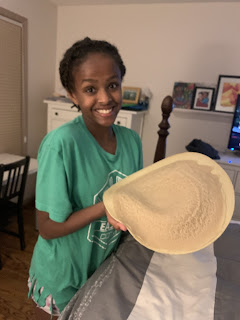
This is a picture of me celebrating the first time I knew the injera was going to come out.

A week later I tried again to test the recipe and teach Meron.
Another key thing is that the skillet must be consistently hot at 400 degrees. I used a temperature gun to measure mine and noticed that it cooled down to around 250 degrees after each injera, so I always let it heat up again until it is at 400 degrees and water dances on the surface.
We didn't have much luck pouring the injera in a circular motion moving inward like they do in Ethiopia. I saw another technique where you pour the batter in one place and then gently rock the pan to spread out the batter and that worked the best for me.

You should get bubbles right away


When about two-thirds of the injera looks cooked (not wet), cover the injera with a lid so that it can cook the rest of the way with steam. It will only take about a minute
Don't over cook it here.

It will look a little sticky and will actually stick to itself at this point but you want to get it off the pan before it burns. Use your spatula or another flat surfaced item to scoop it off of the pan to a towel.
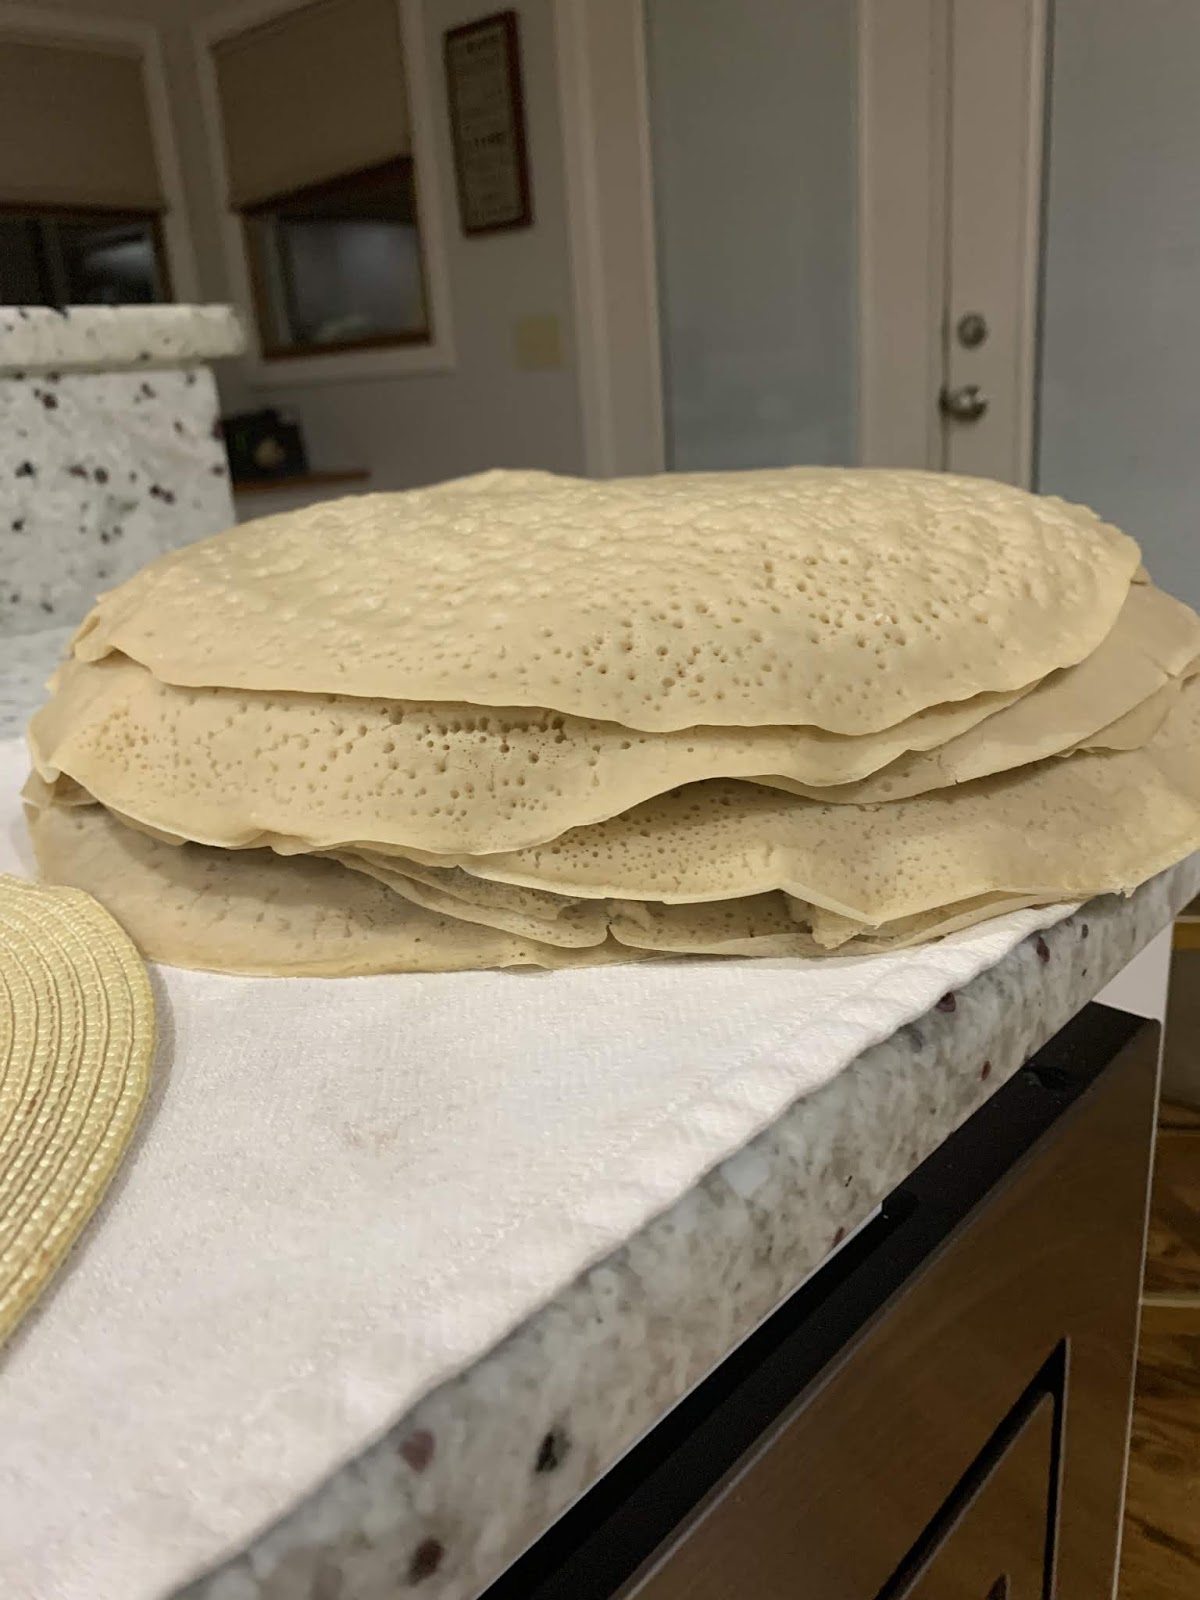
It should look like this.

Do not stack them on top of each other until they are completely cool or they will stick to each other.

You can see the place mat under the injera that I use to scoop them off.
And that's it.

Then just google search for some delicious Ethiopian Wat (stew) recipes and enjoy.

Last thing, don't forget to save at least 1 cup of your starter each time or you will have to start the 2 week process again. If you are going to make injera regularly, leave the starter on the counter and feed daily. If you aren't going to use it right away, store it in the refrigerator and take it out once or twice a week, sit it out on the counter and feed it on that day before putting it back in the fridge.
No comments:
Post a Comment